Photography When The Sun Isn’t Shining
Motorcycle Diaries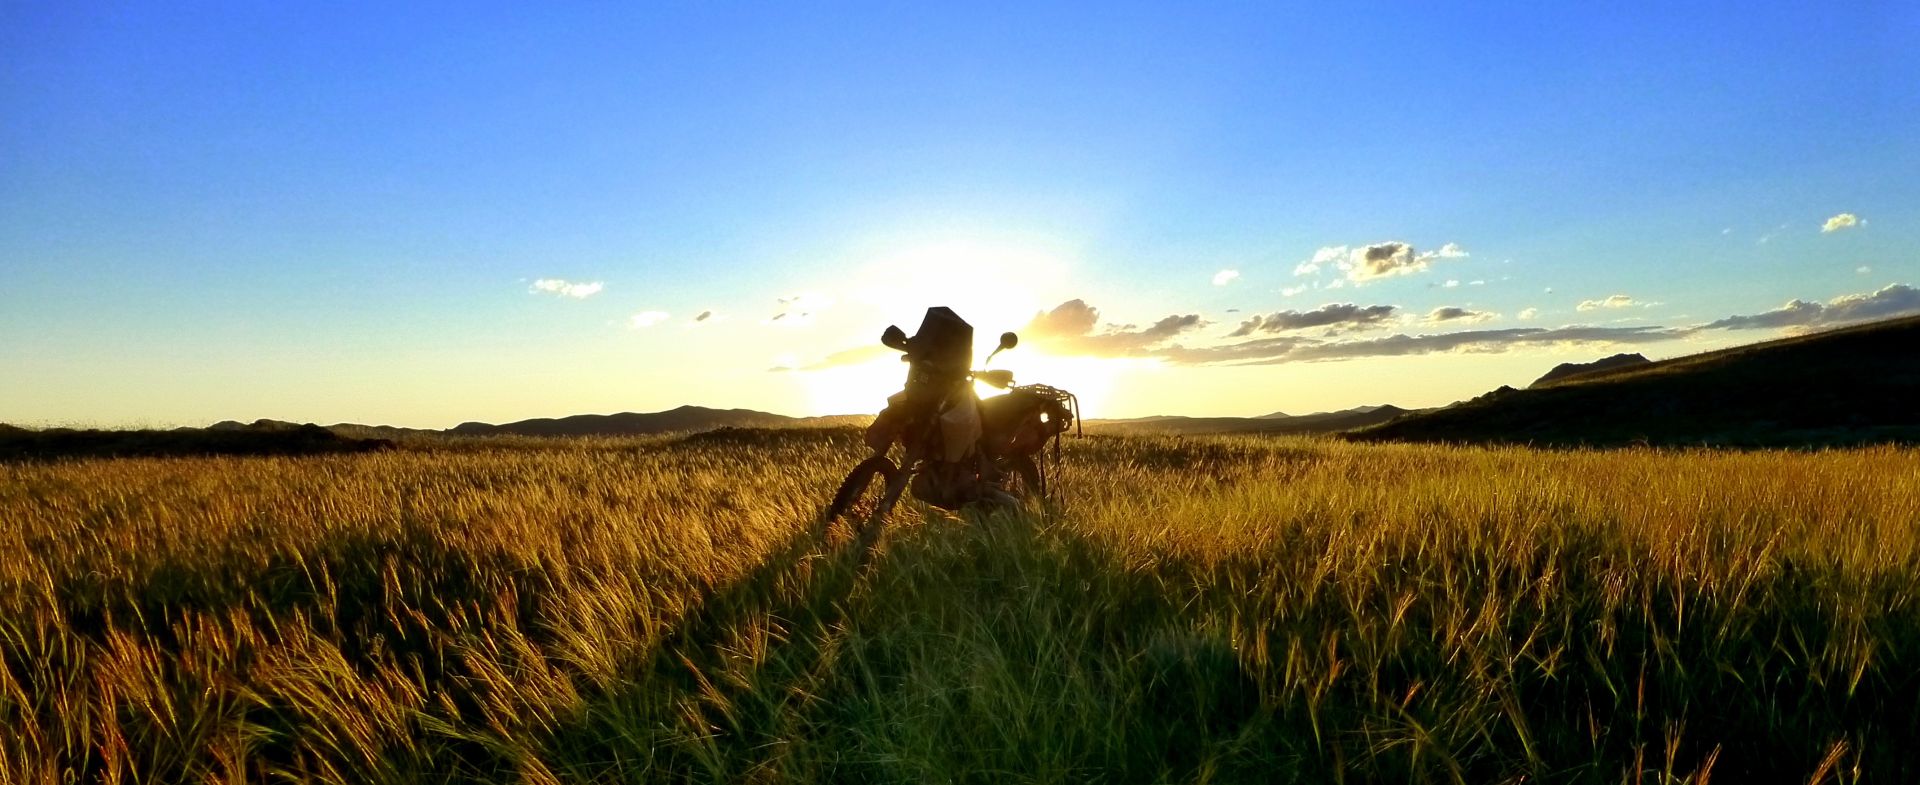
While I agree with this around 99% of the time because of the possible dangers to you, in unknown areas like – potholes, animals or people on the roads, other vehicles without lights or maybe black ice as the temperature drops when the sun goes down.
That other 1% opens up a vast array of opportunities to get some very unique photographs. As all have become familiar with social media and sharing our travels it’s surprising how few images that are shared are ones in imperfect conditions.
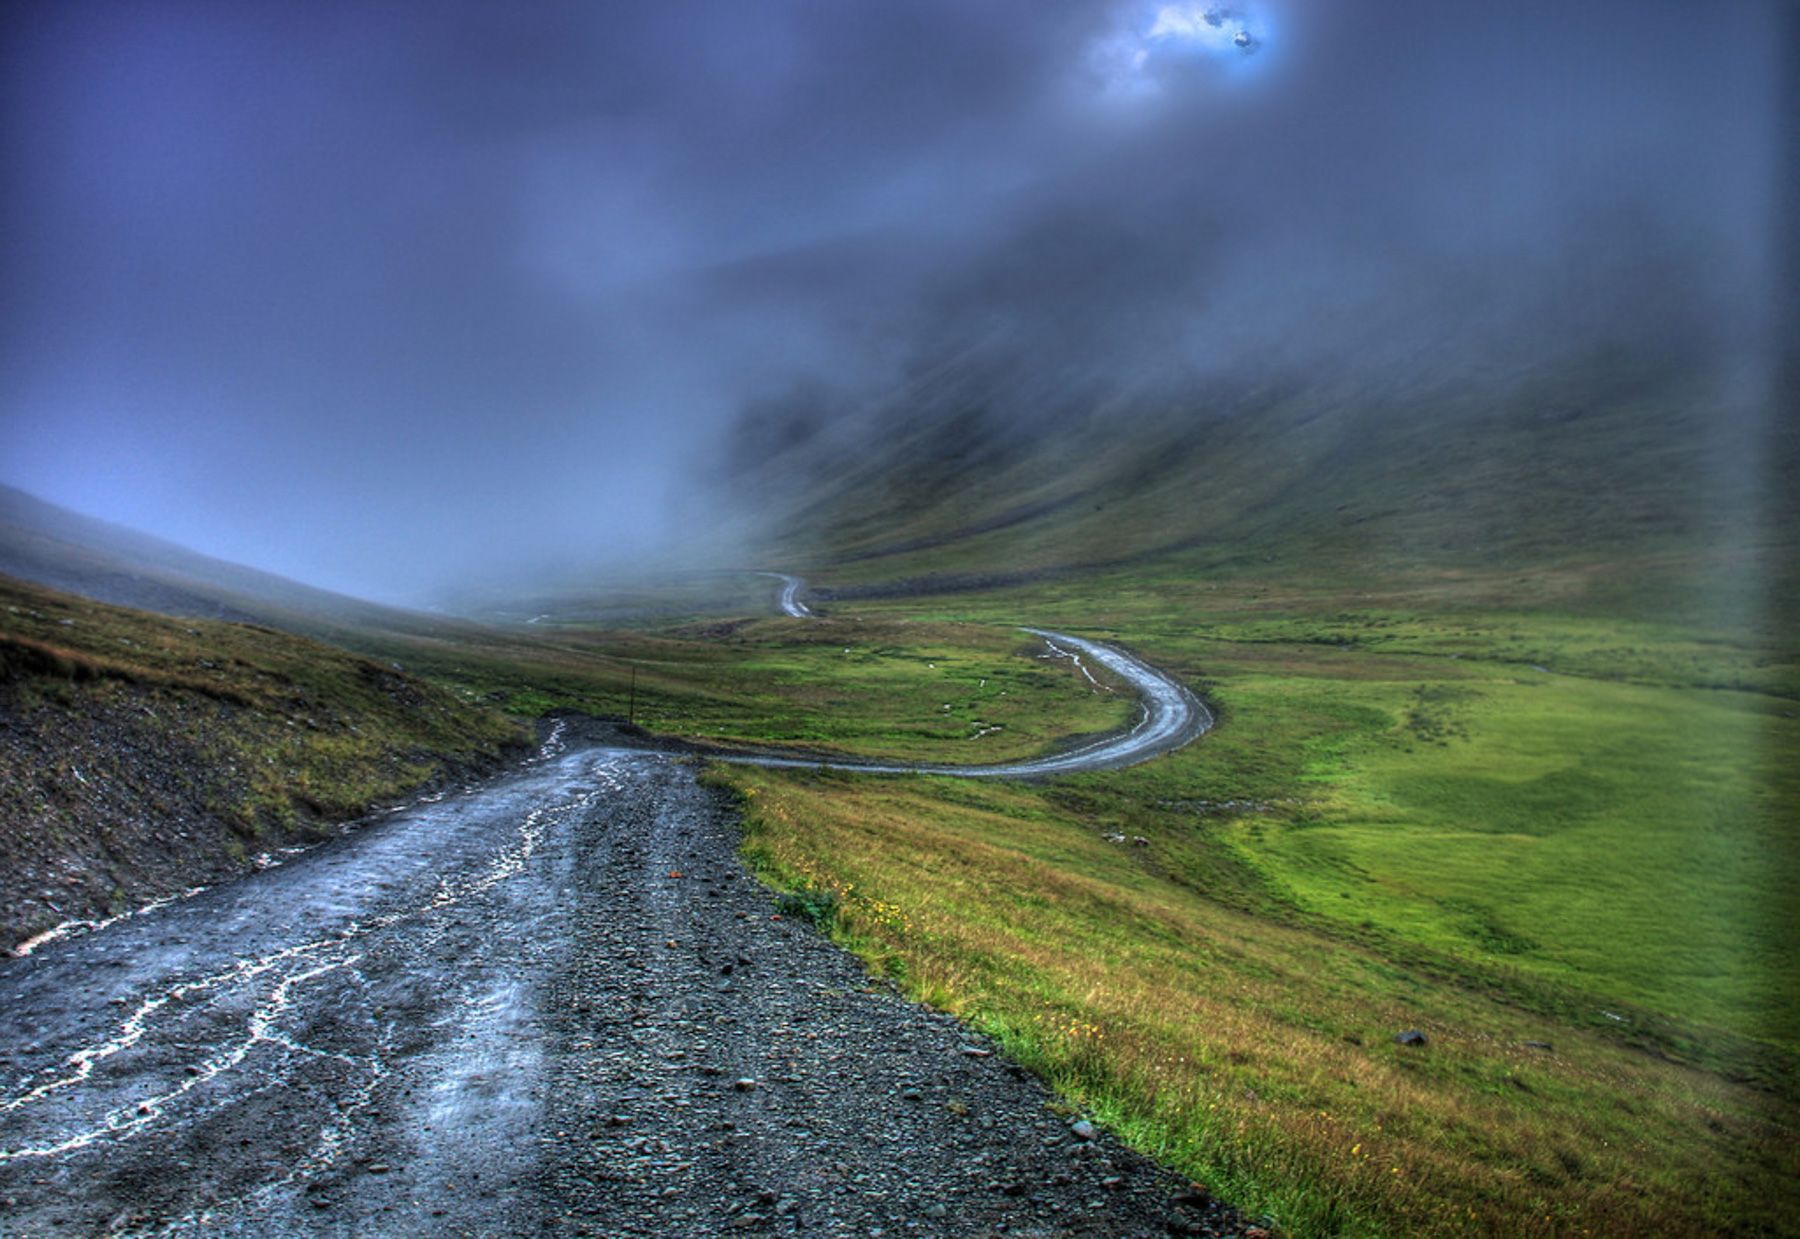
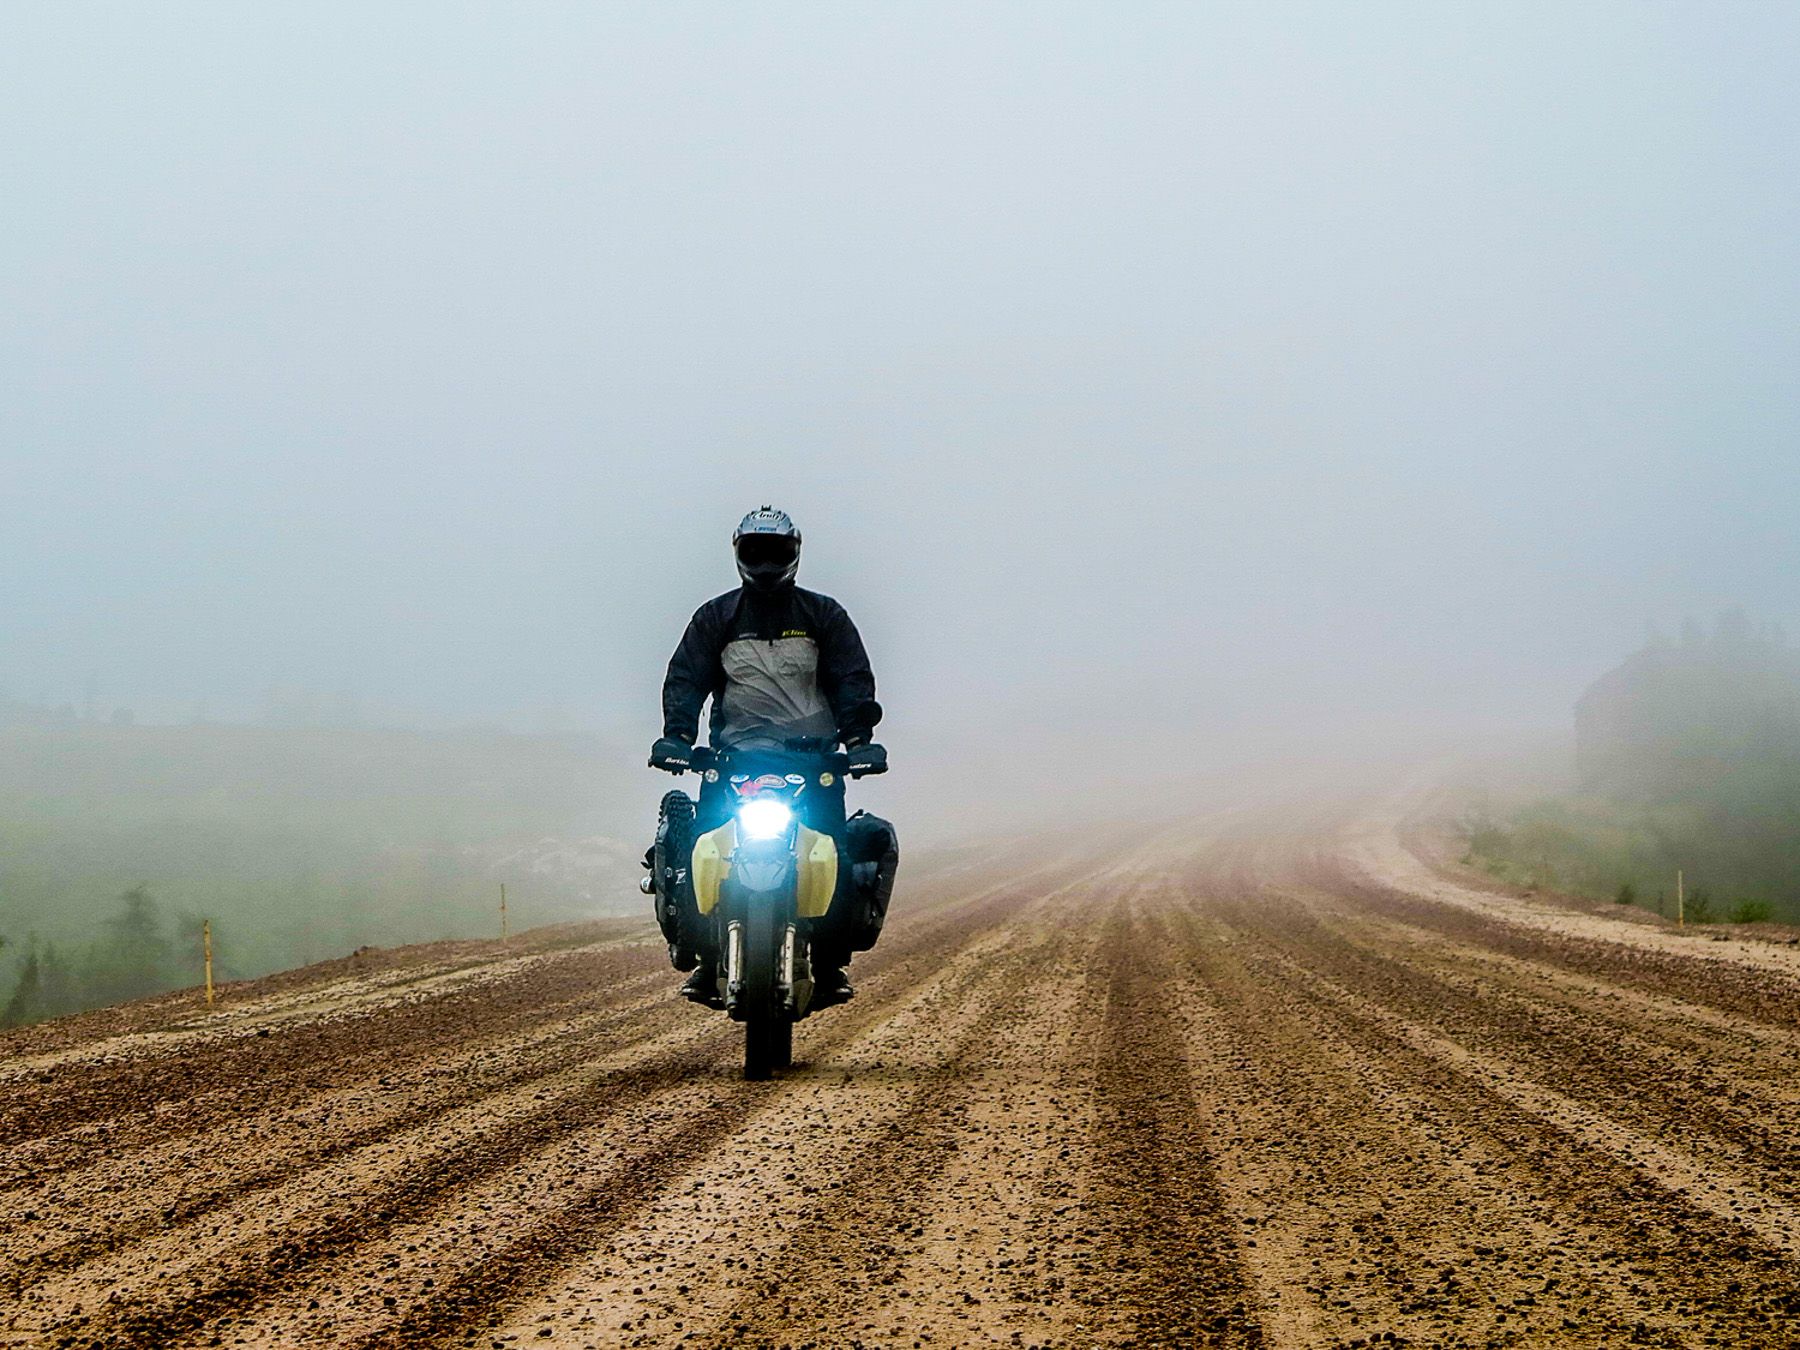
Conditions like foggy weather and rain or cityscapes can add a lot to your story about your own motorcycle adventure. I get to test ride quite a few bikes while writing articles for multiple news outlets besides my own. So daytime and nighttime urban and rural shots become part of the many options.
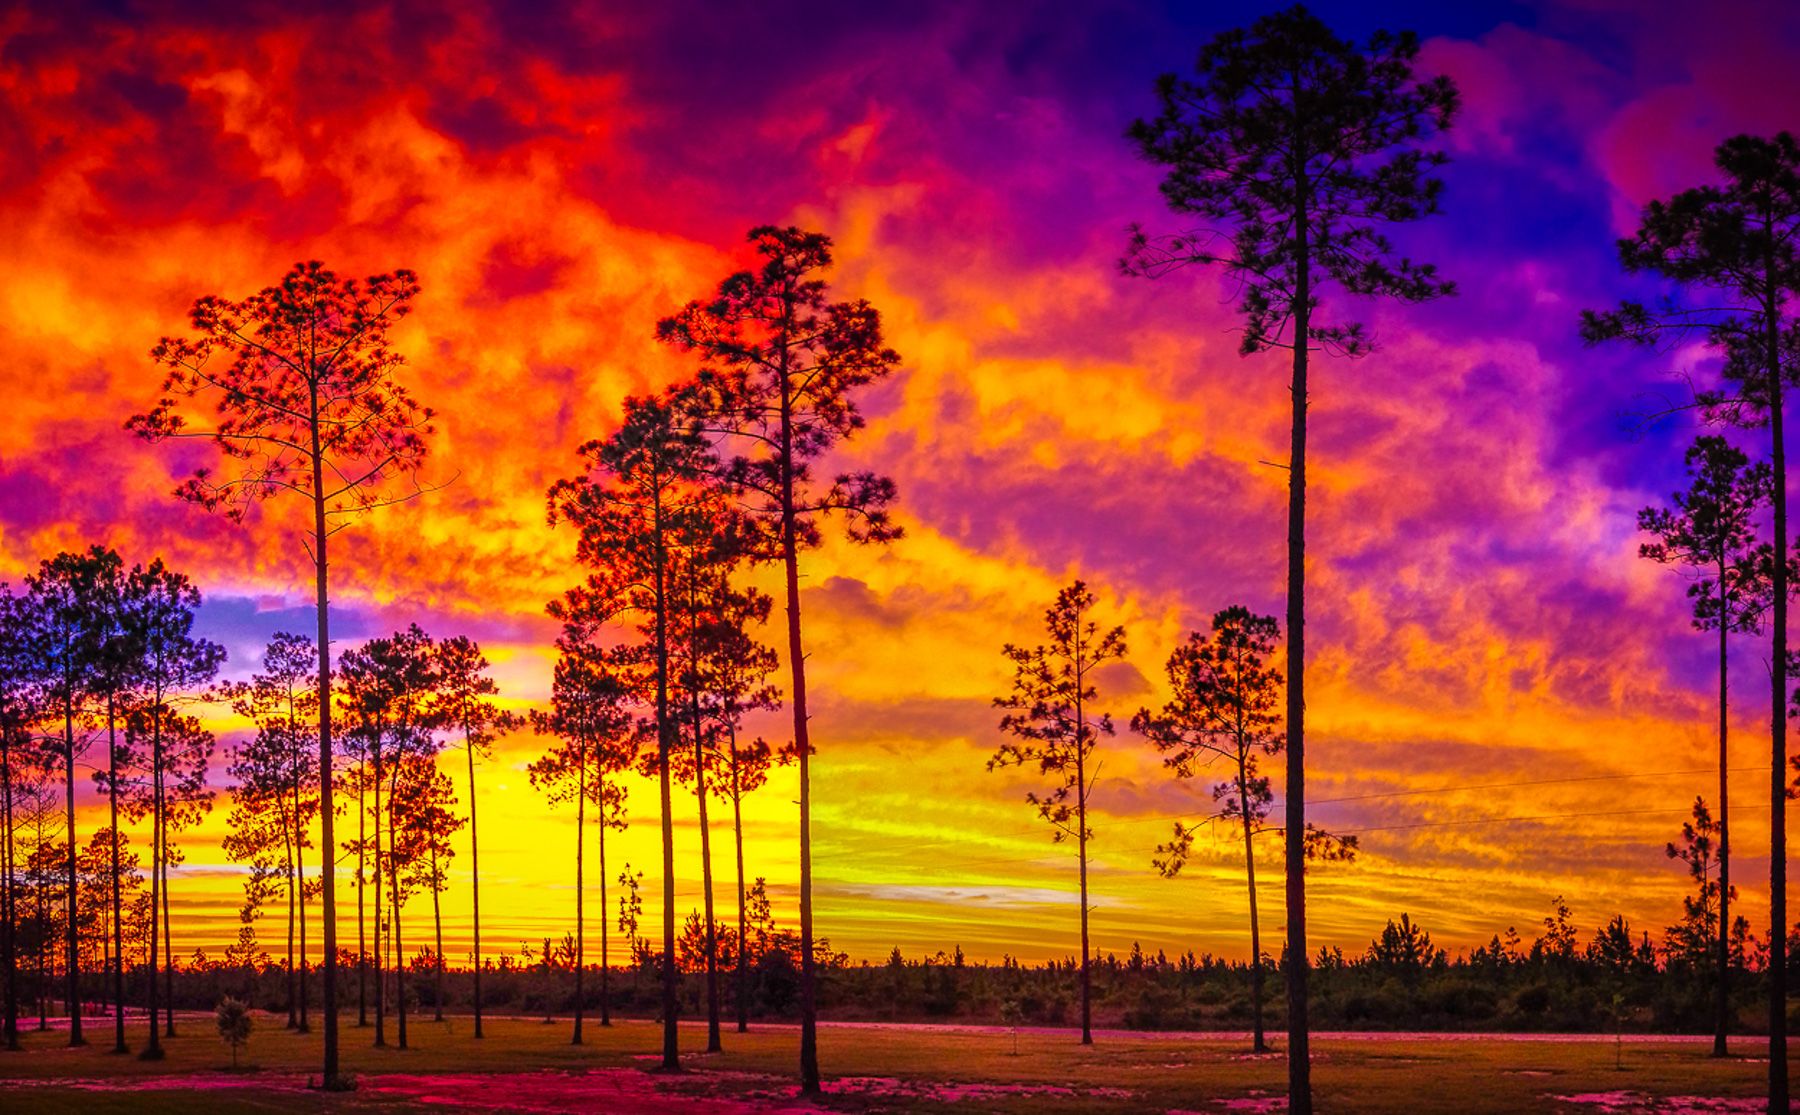
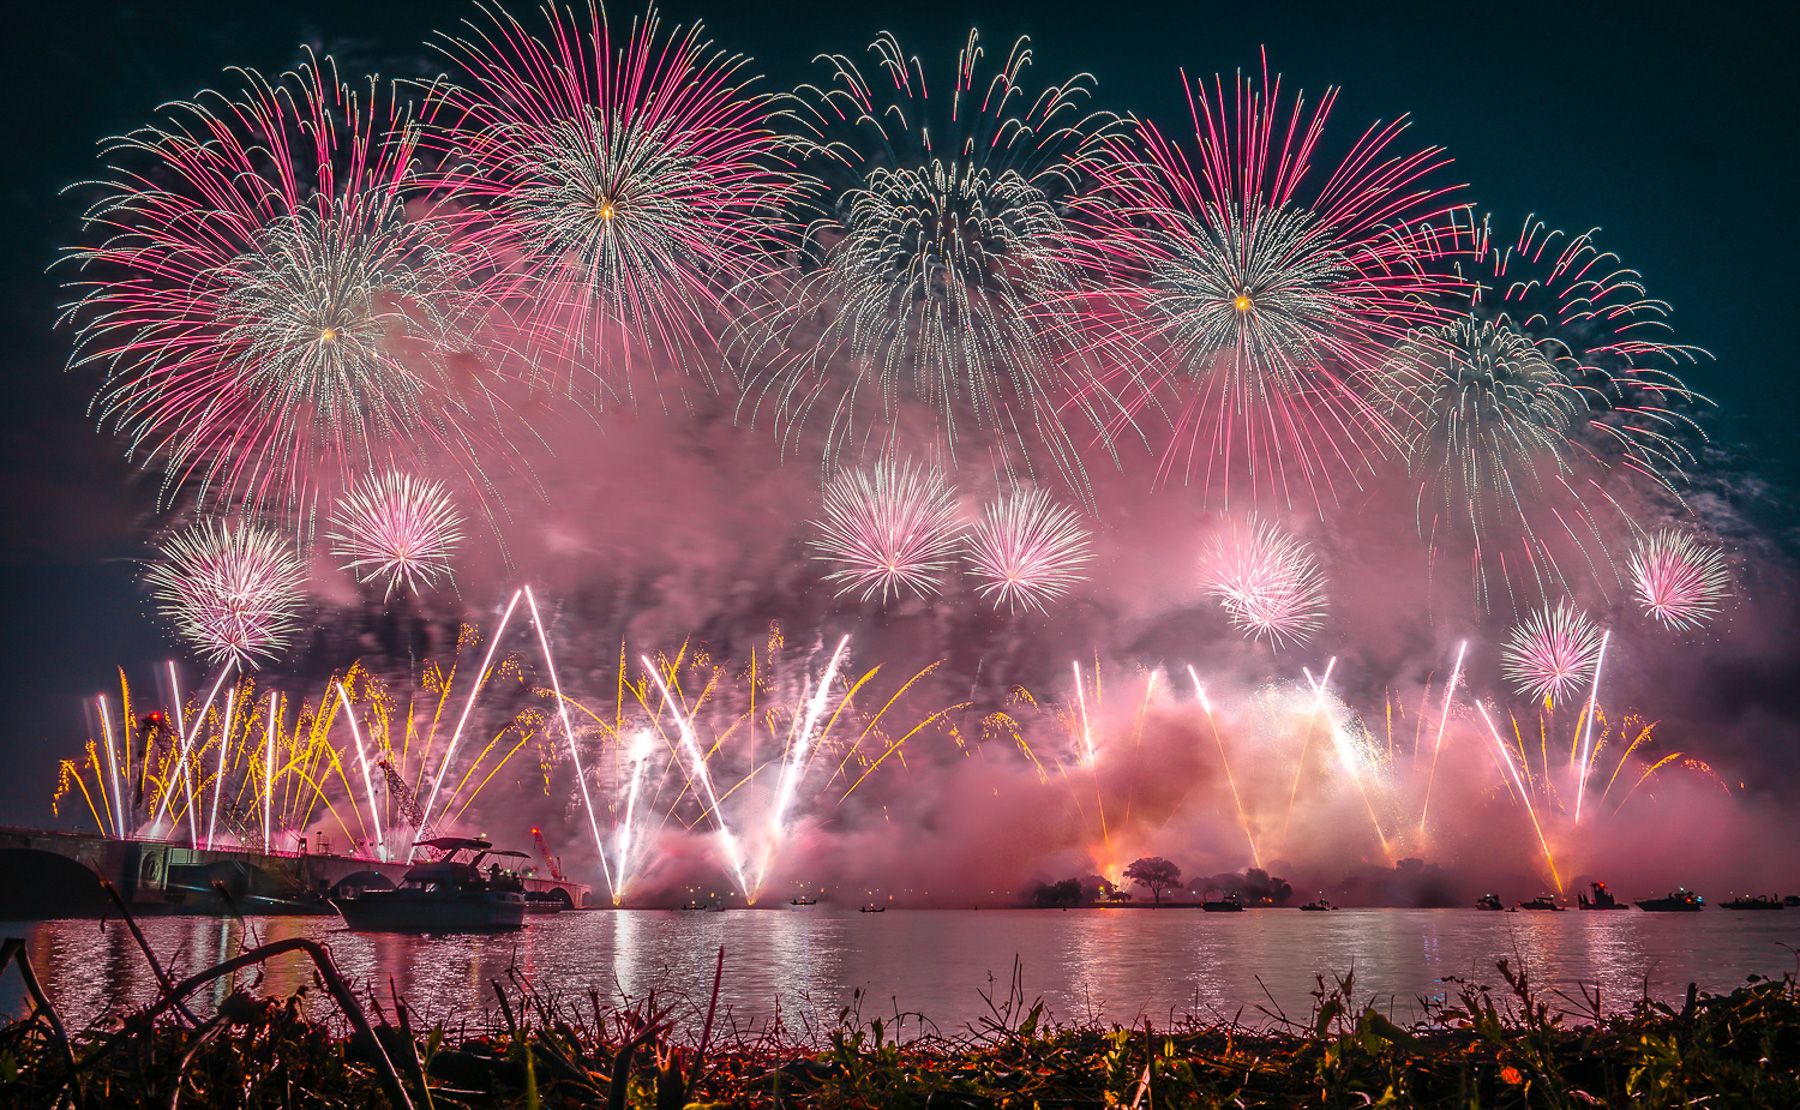
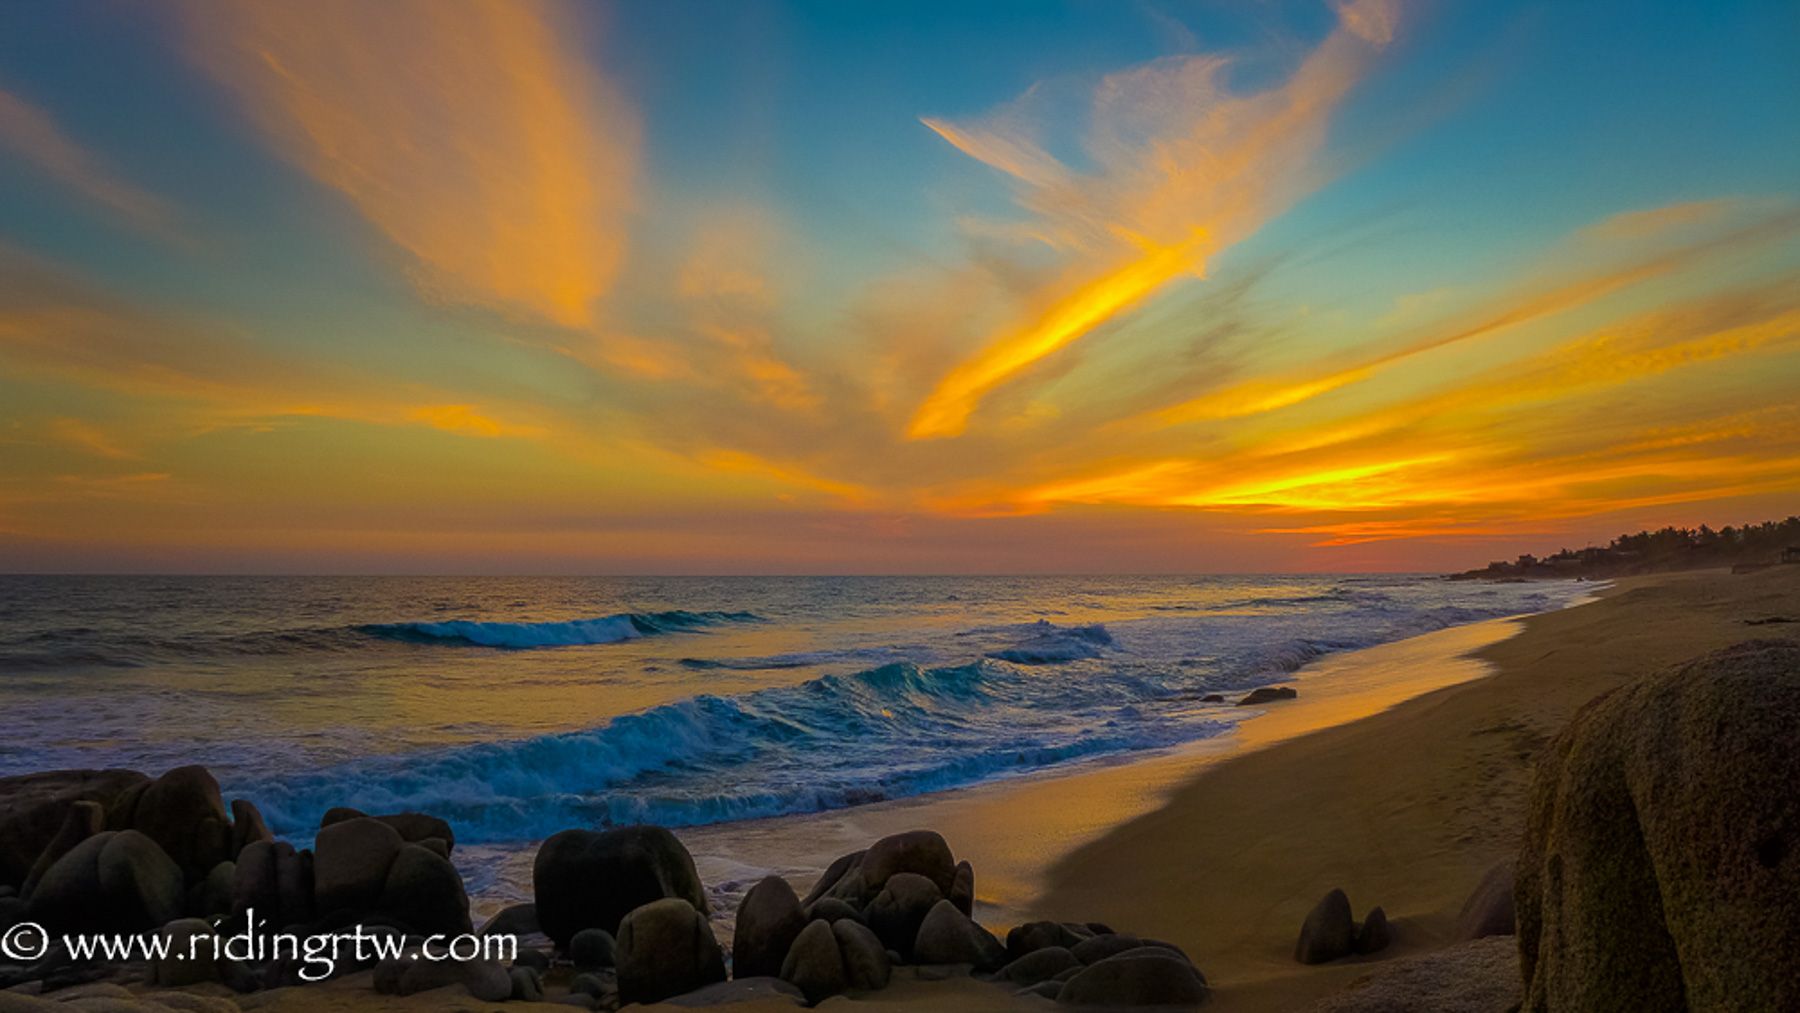
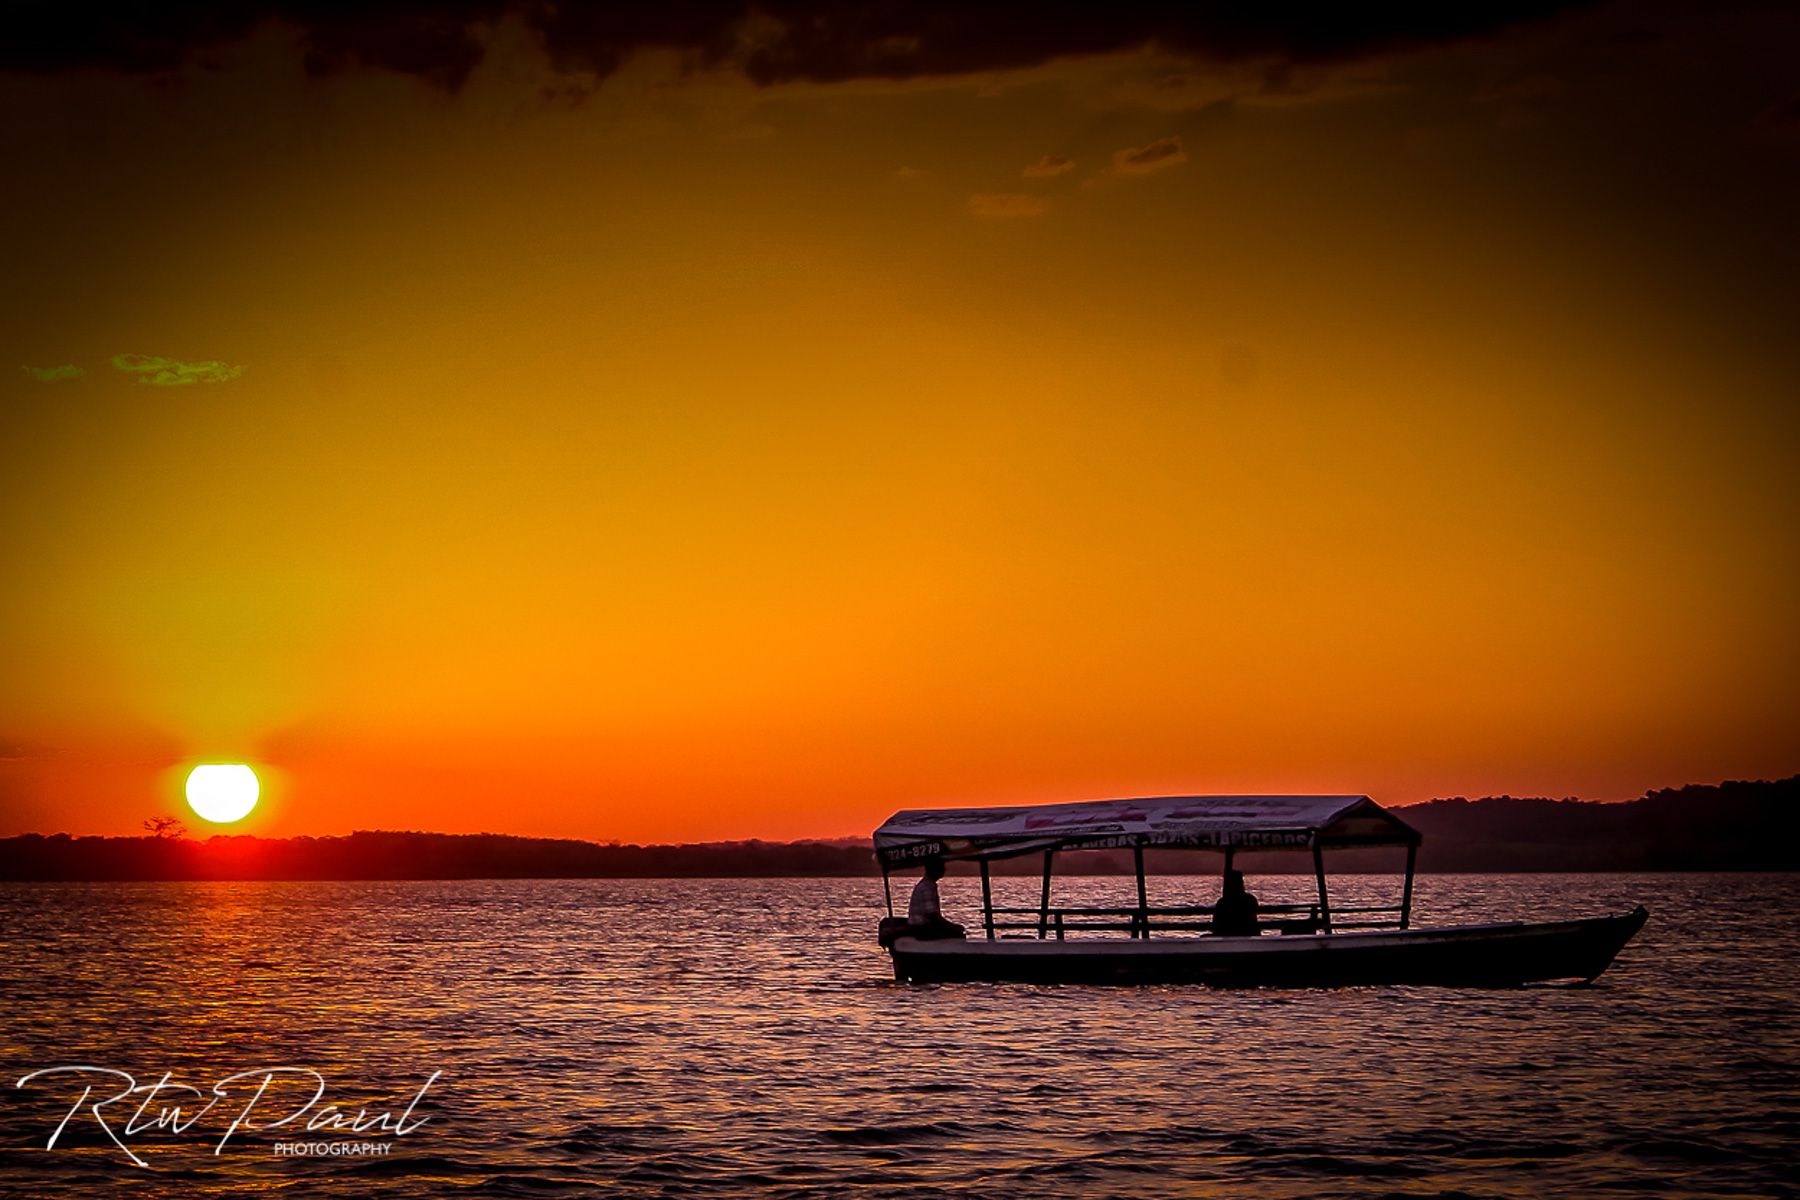
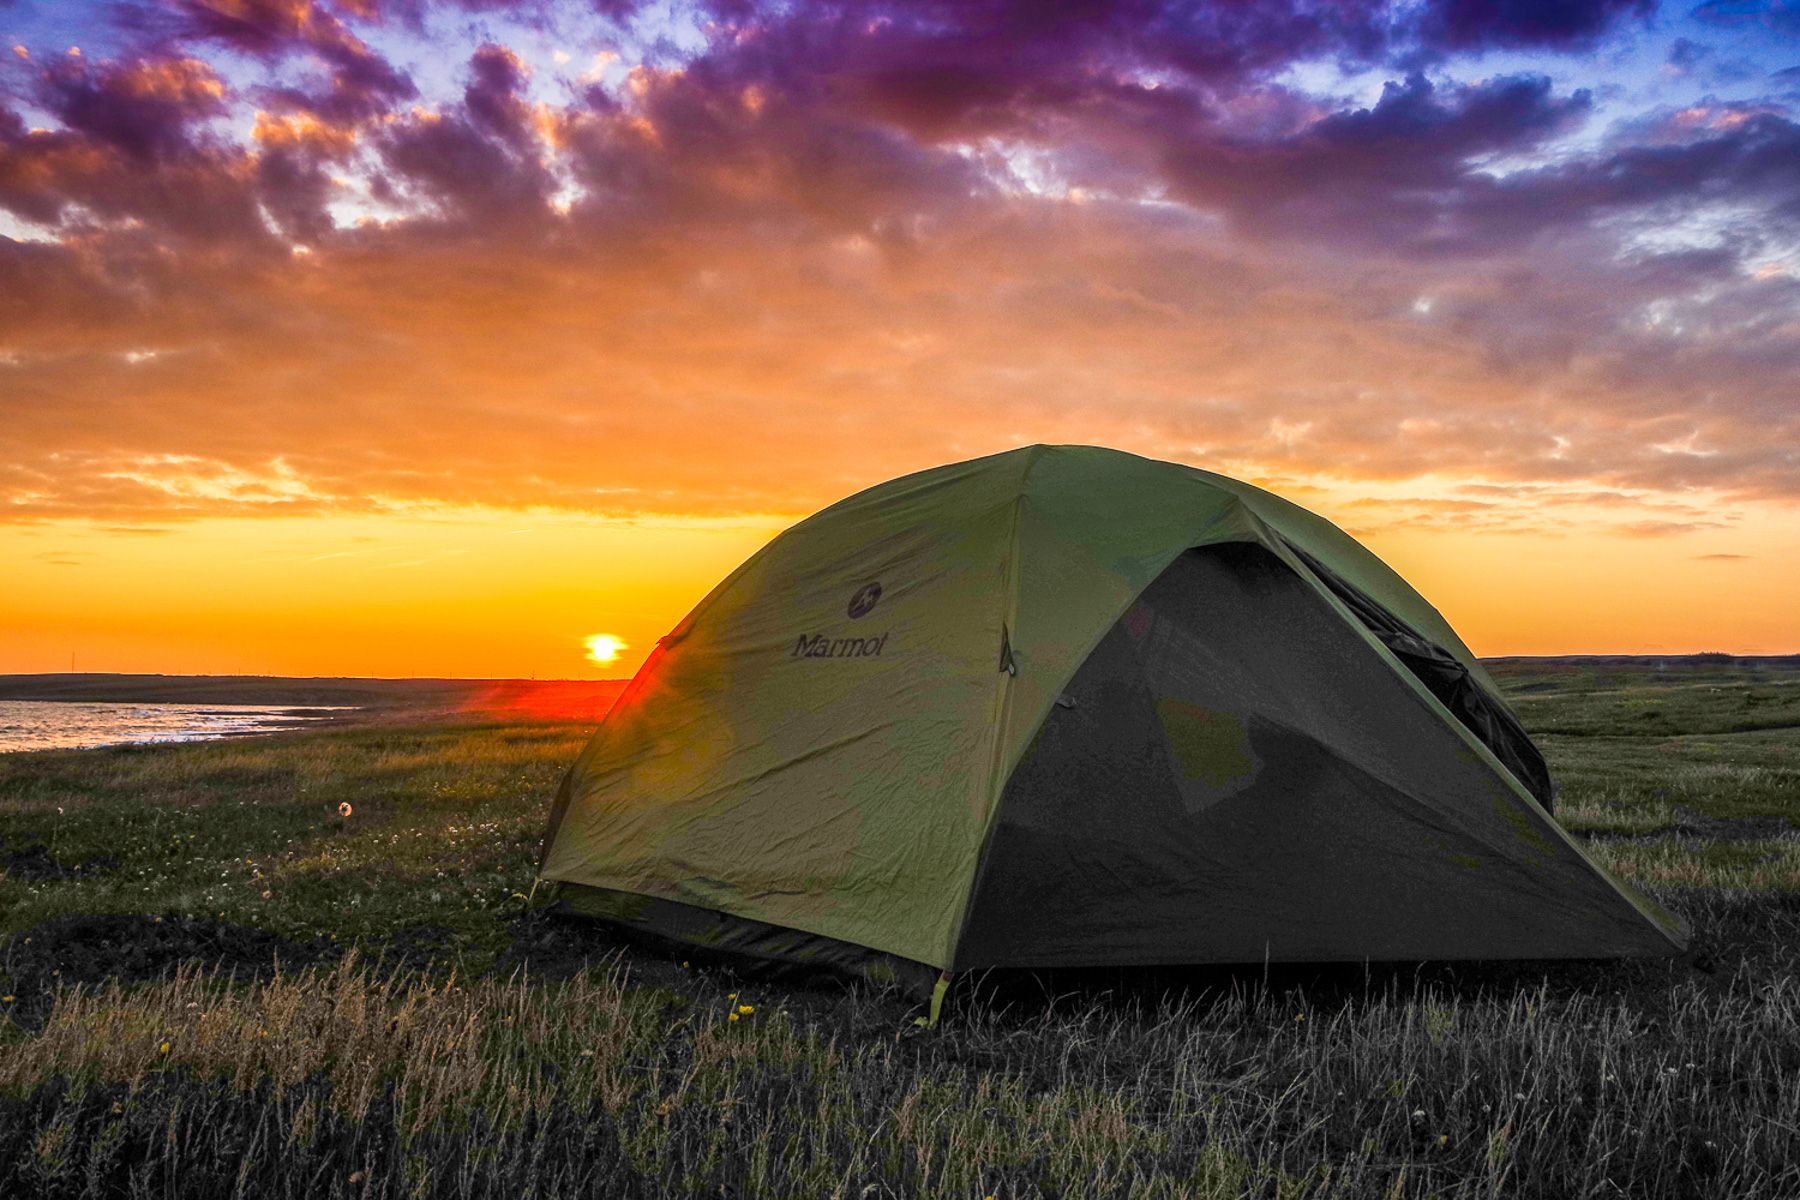
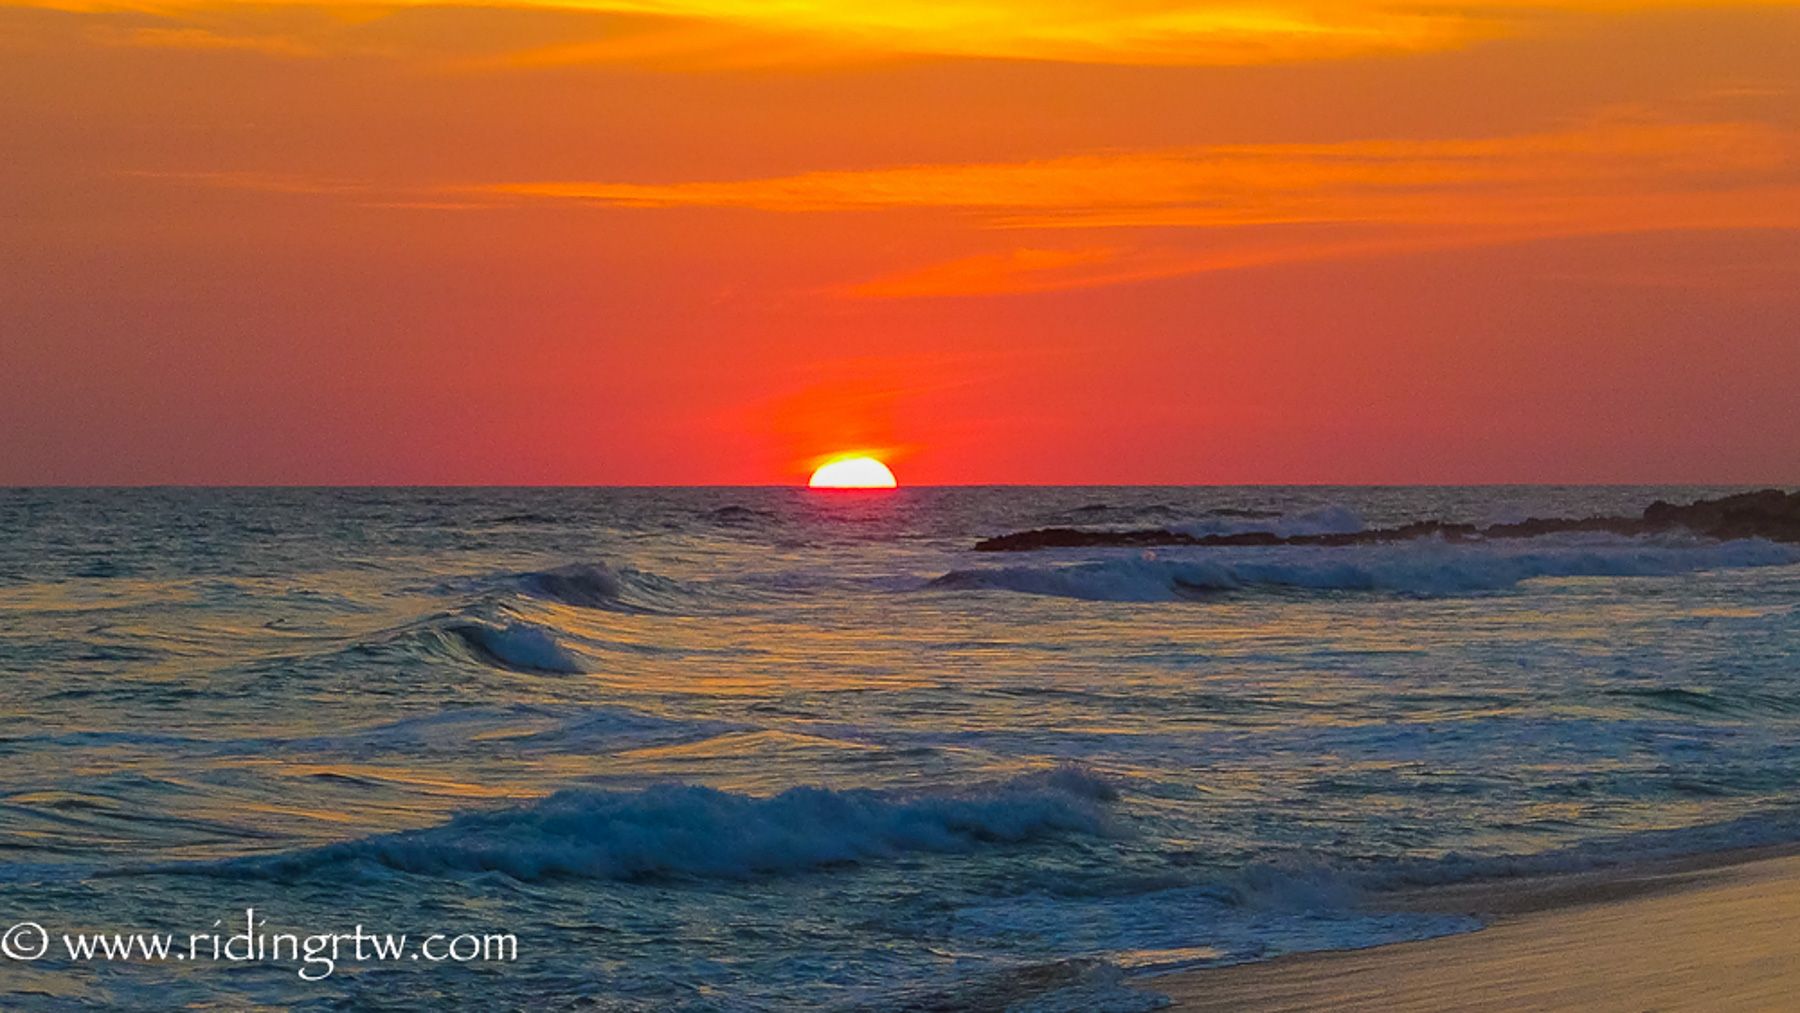
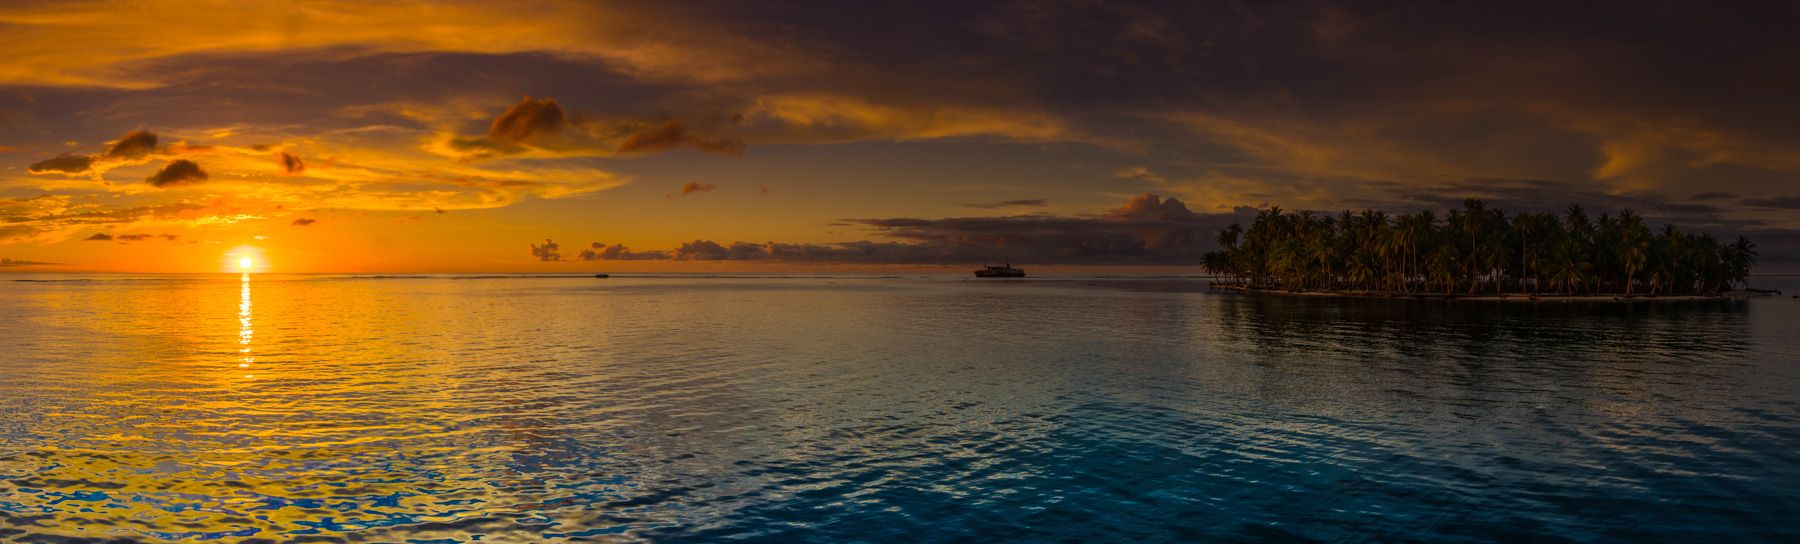
I like to look for good artificial light like neon, street lights, headlights, road signs, campfires fires, a setting sun, fireworks, light in a tent, light from a full moon, and the list goes on…
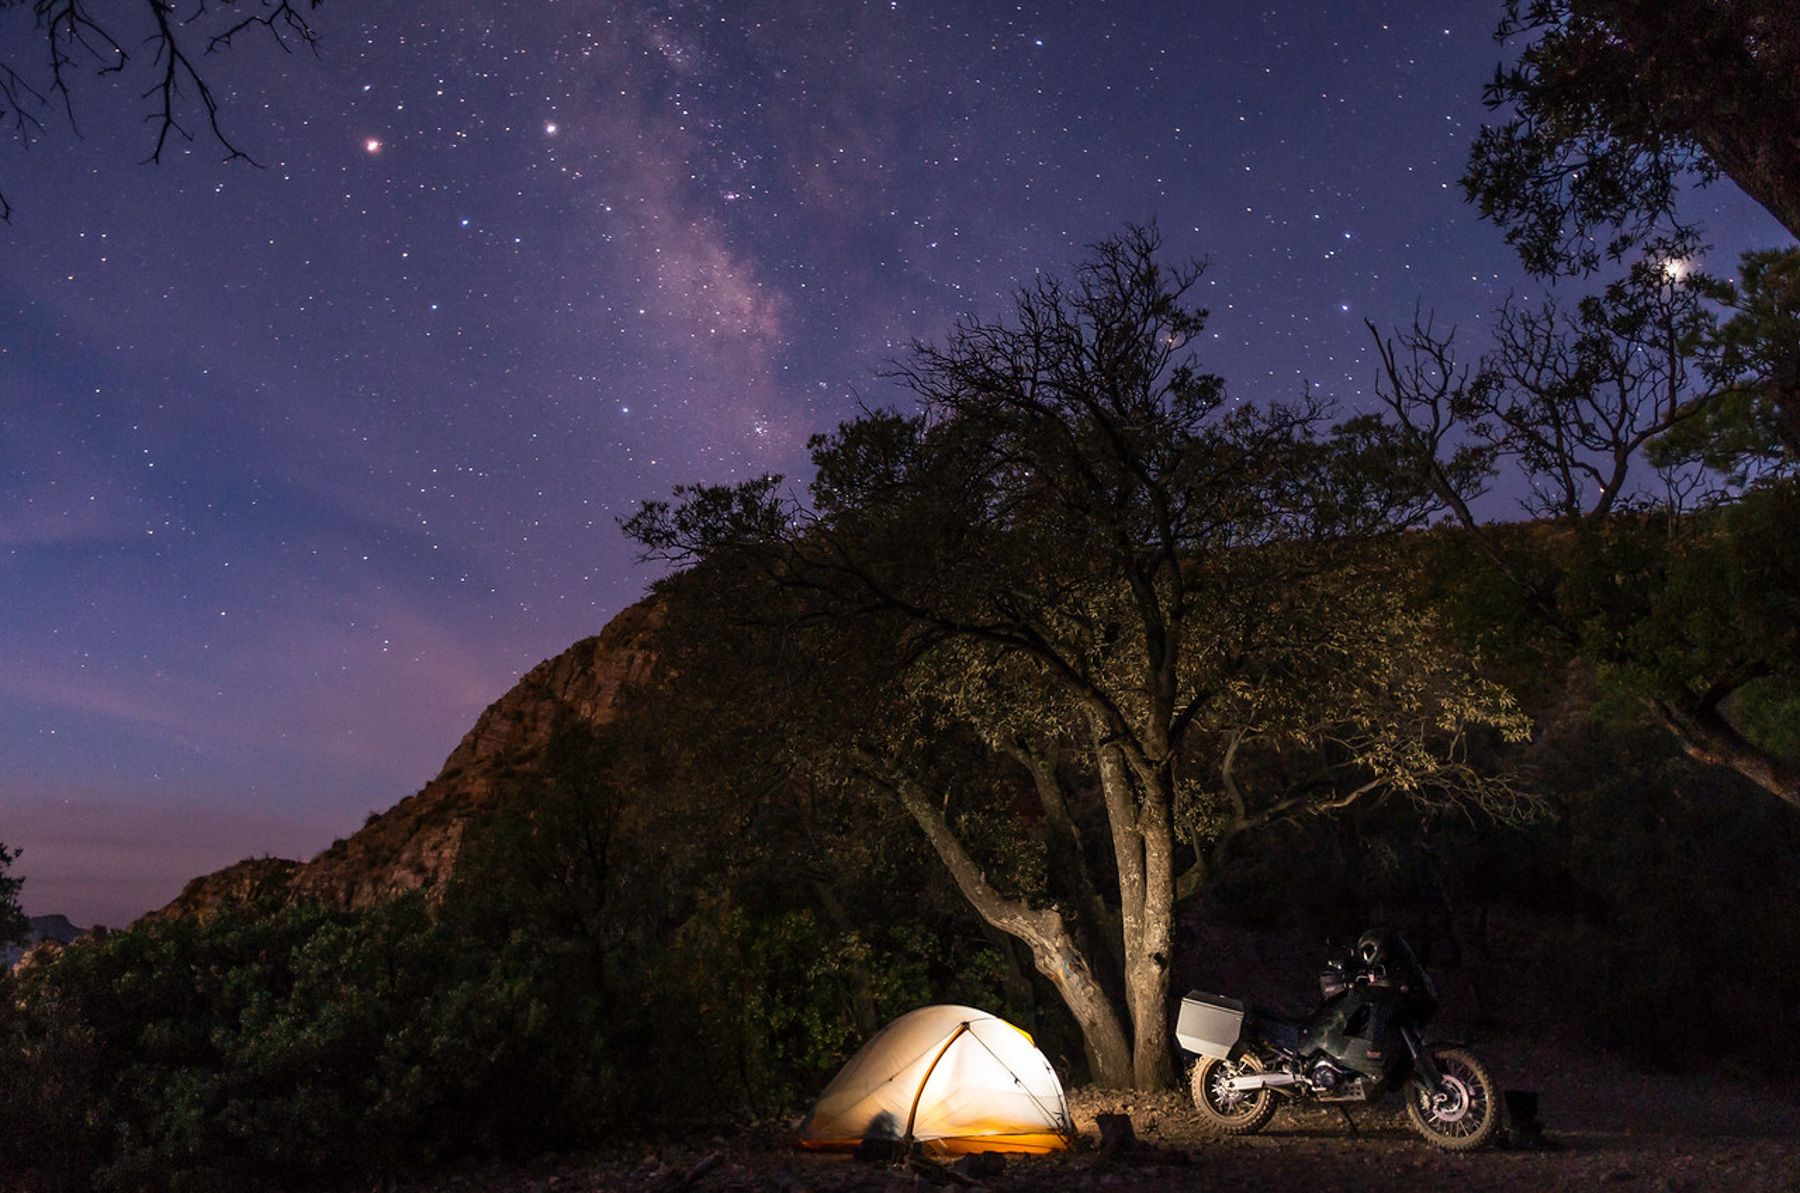
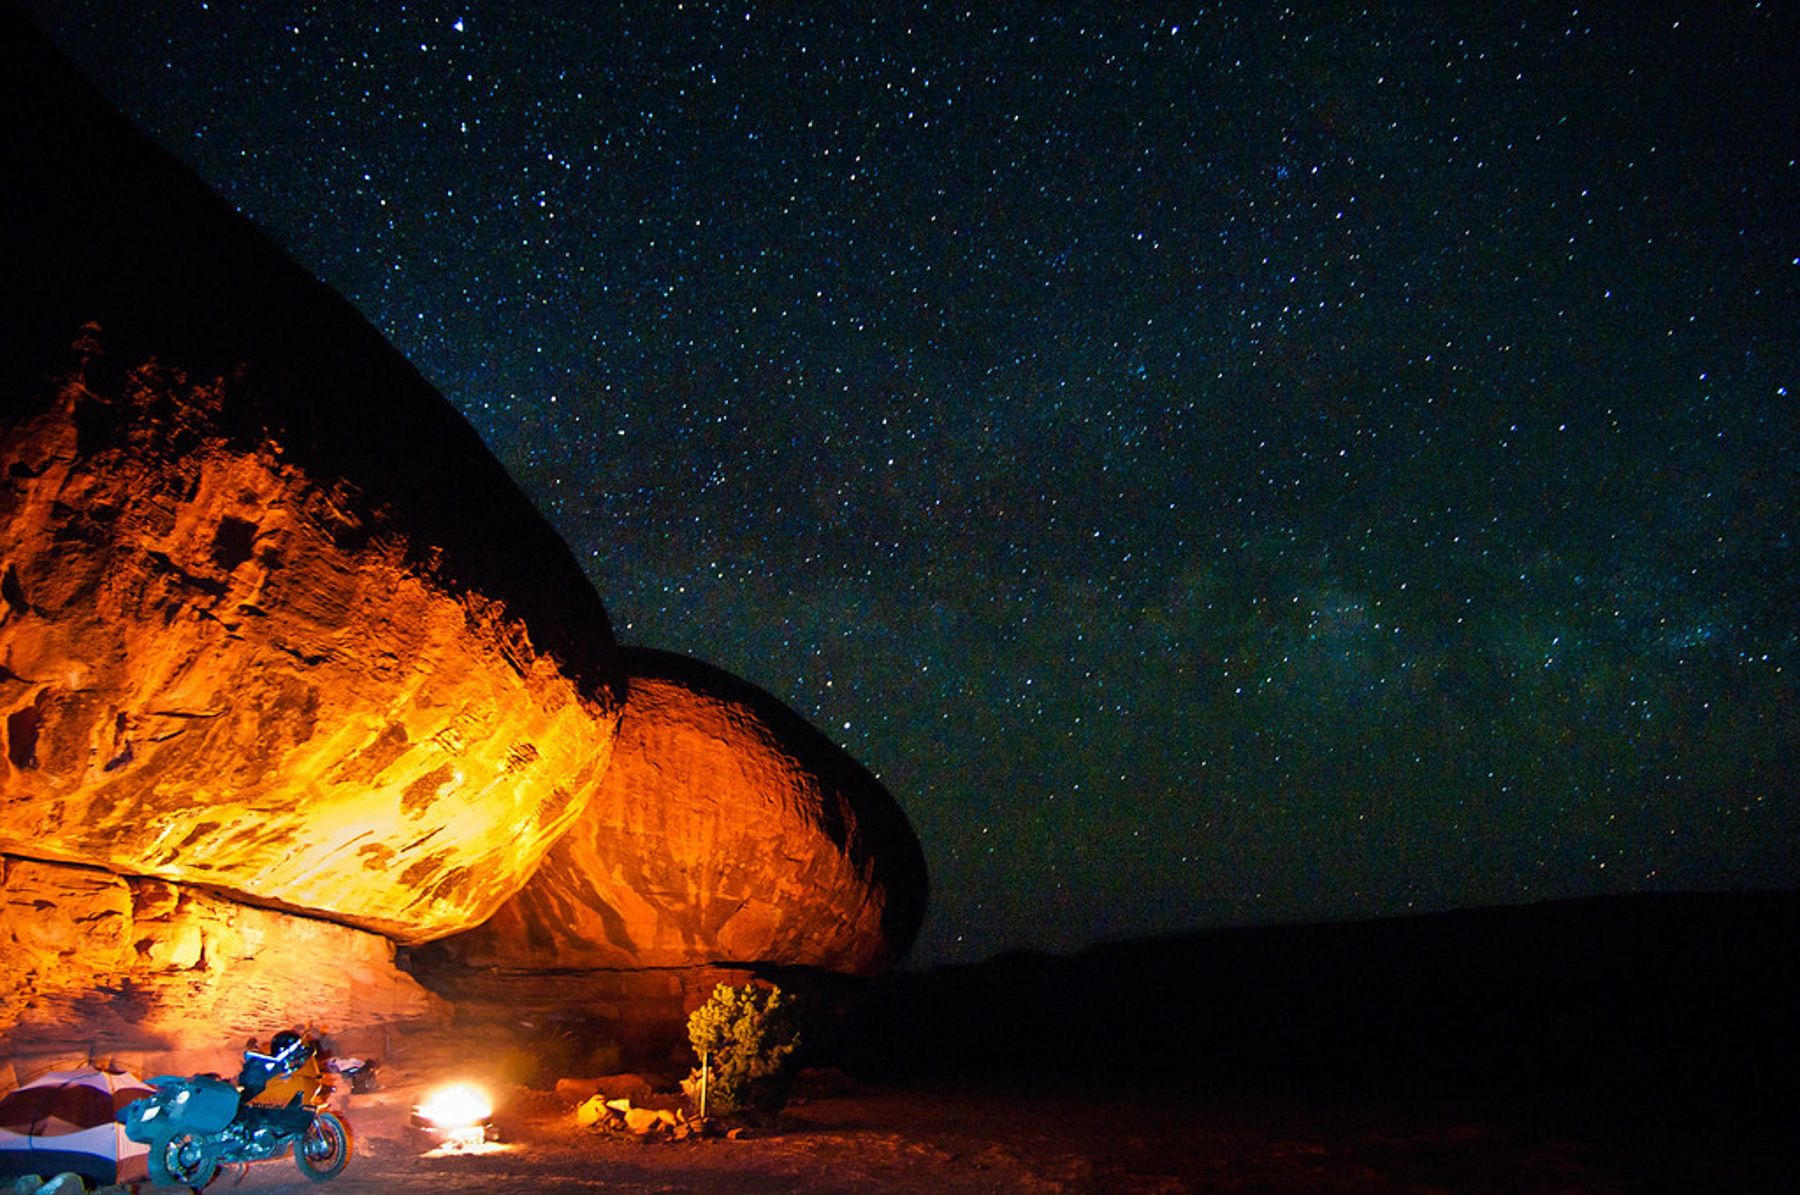
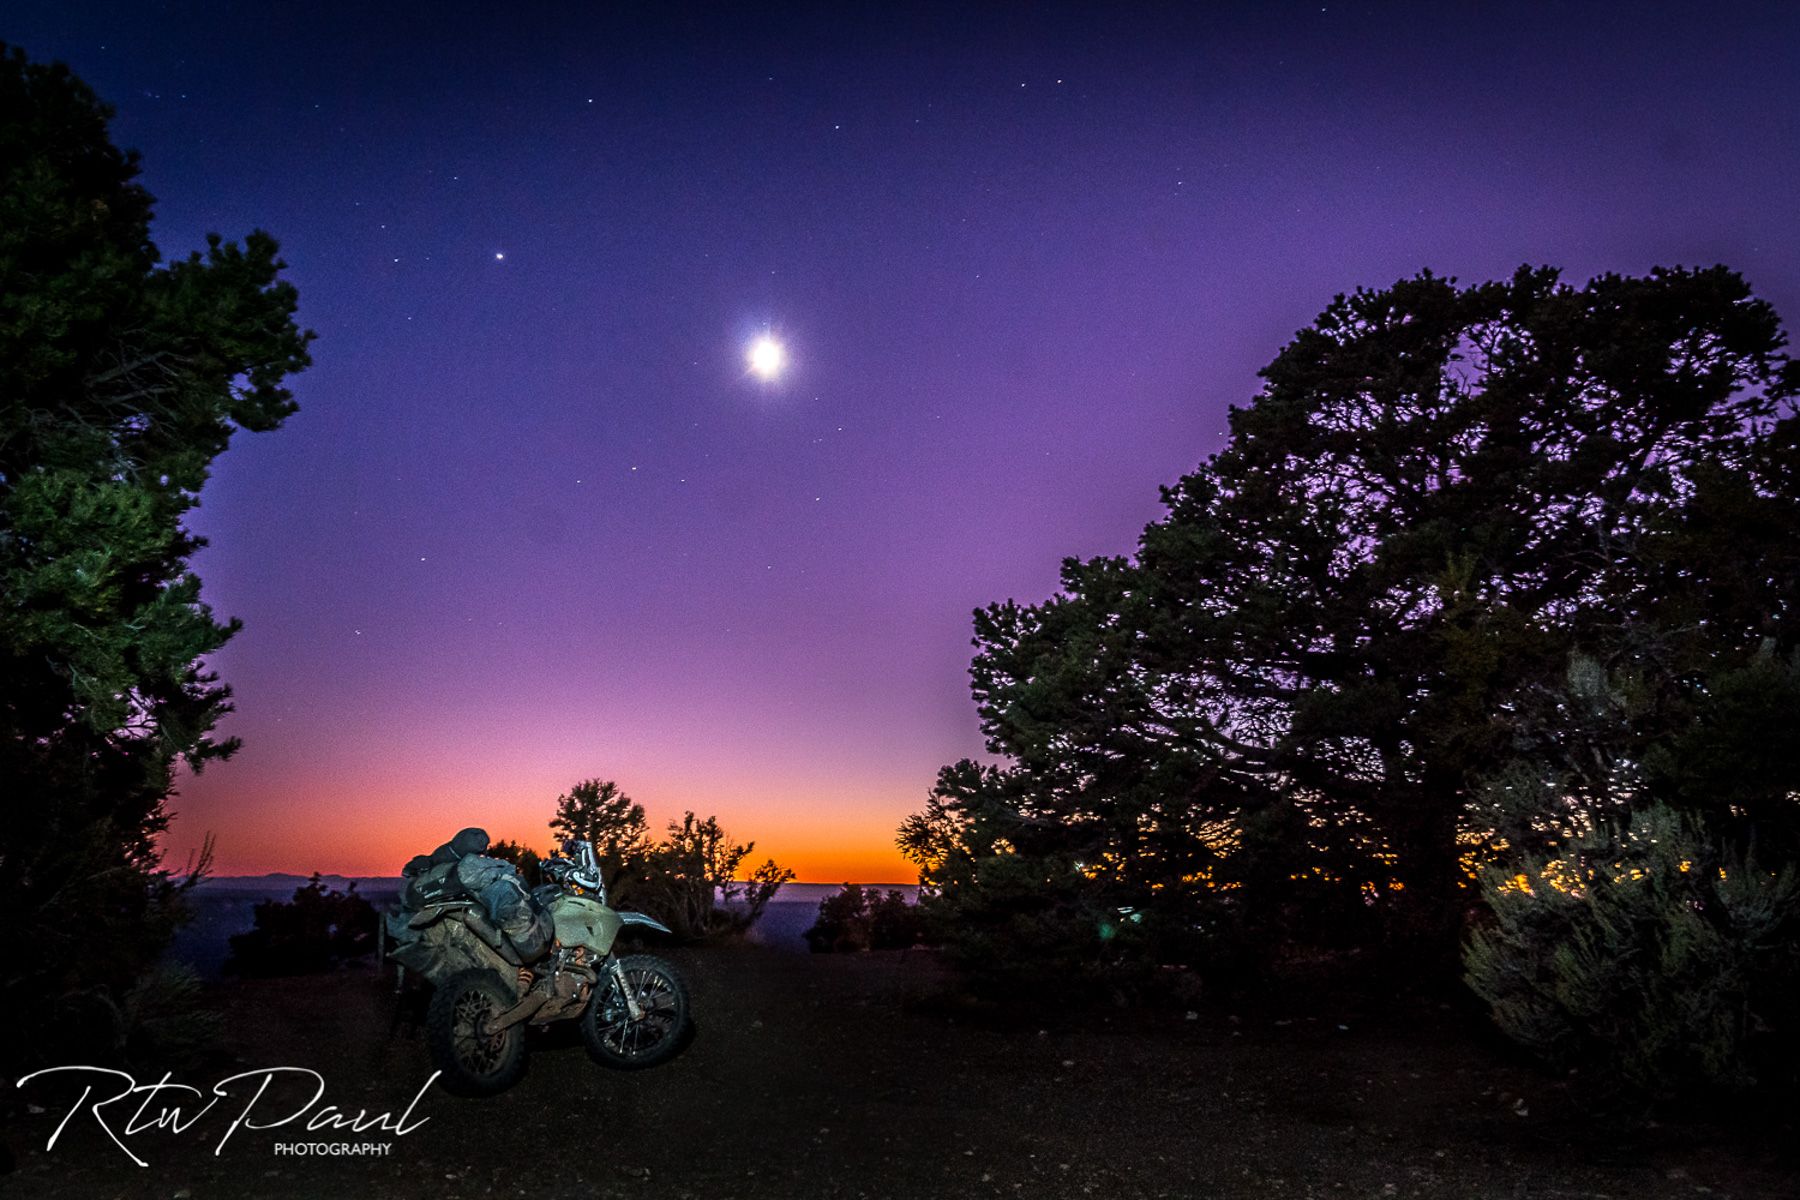
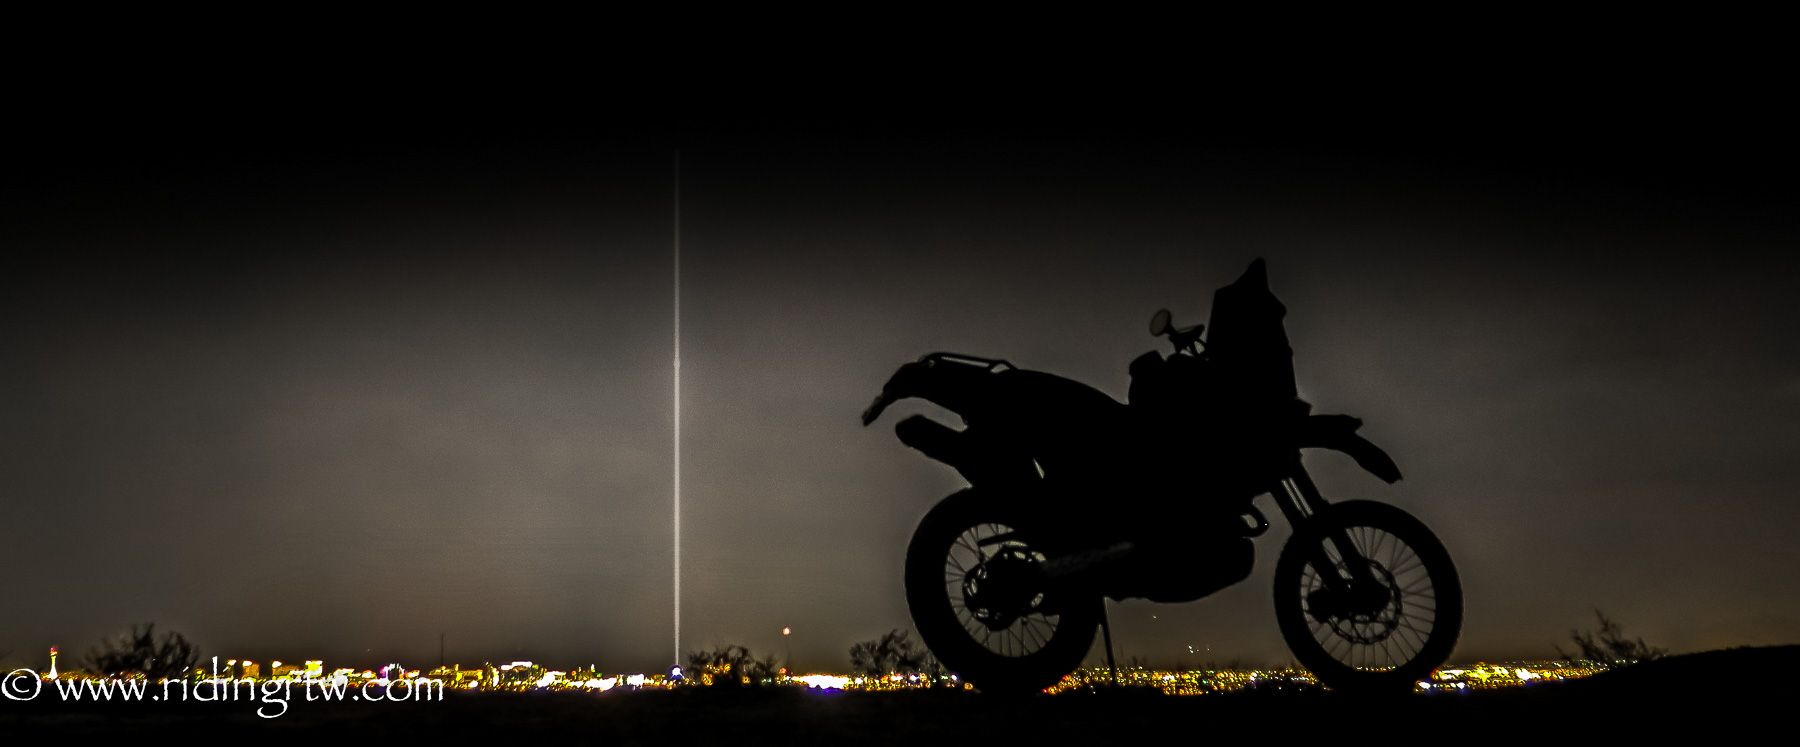
More specifically night shots can create some incredibly stunning images that will set you apart from the other riders by what they share, appearing to only ride in perpetual sunshine.


When the sun isn’t shining, in the majority of cases the light will be bad or non-existent, so you have to work a little harder for the image to look good. Whether you use a cell phone, a DSLR or a mirrorless camera nighttime shots are very achievable and relatively easy.
If you are a cell phone user check if you can take a photo in a different way other than just accepting what the phone does. i.e you are pushing the button and getting an image.
Look in your settings, does it give you the option of HDR (high dynamic range) this option will take multiple images and compost them (blend them in to one image) using all the best hi and low tones to give you what the cameras processor thinks is the best possible image.
Maybe your phone had different modes to adjust the colors and tones before you take the shot? Do you use them?
Does your phone have a button that looks like a stopwatch, that’s a timer so you can take long exposure images like headlight trails, fireworks, or Milky Way shots? Or to take a long-distance selfie, day, or night?
If you like your phones camera, but would like a little more than the iOS or Android offers you, there is a way you can make that camera more like a ‘real camera’? Yes, look for an app called Pro Camera.
This app will allow you to make your phone camera become so much better and functional than you ever imagined. If you couldn’t before, Pro Camera will now give you more control of low light images, Fullscreen Trigger, tap anywhere on the screen to capture the right moment. Ideal for street photography!

…but probably the best feature is the option of Raw Images. A raw image takes the photo and records all the information but doesn’t process it for you, it holds a lot more information so you can post process your photograph exactly how YOU want.
This is a great feature if you are looking to use programs like Lightroom or a simpler app like ‘Snapseed’ to do your final post processing.
If you plan to take photos of the Milky Way then a tripod is really needed to get a good stable image, because you will be making an exposure of around 15 seconds and a slight movement will create a blur.
But how do I find the Milky Way?
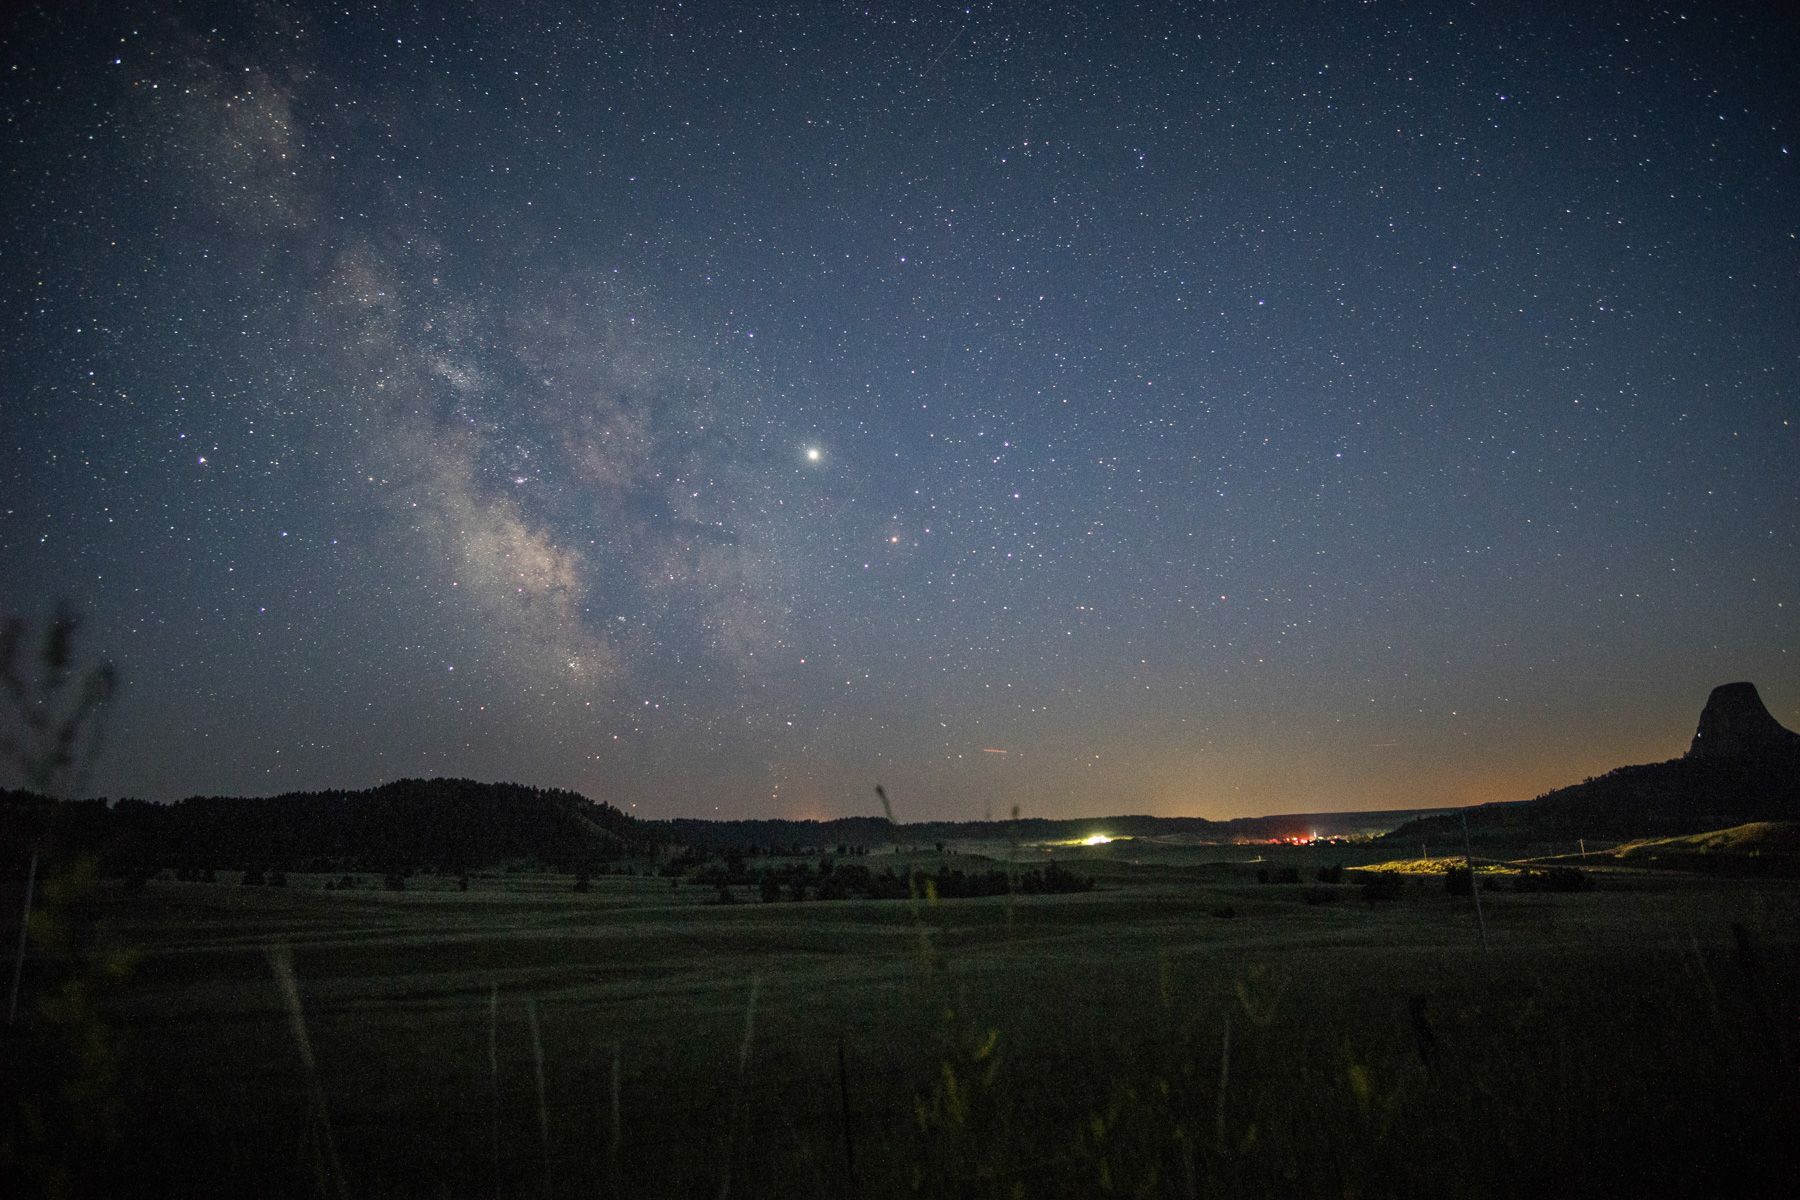
Before you go looking for the Milky Way you will need some very dark sky, so get yourself the ‘DarkSky App’, this along with the ‘Light Pollution App’ will give you the best opportunity to get that perfect image.
As a very dark sky, no light pollution and no moon will usually be very far away from a populated area, in most cases wild camping is relatively easy, because you’ll be very alone.
Once you have pinpointed your location (you can calculate these advance) then another app called ‘Photopils’ will give you the perfect minute or timeline to get that shot.
In Europe this can be a little hard to find so here are the top 7 places for dark skies.
- La Palma, Canary Islands, Spain.
- Alqueva, Portugal.
- Iceland.
- Bodmin Moor, UK.
- Zselickisfalud, Hungary.
- Galloway, Scotland.
- Pic du Midi, France.
In America
- Joshua Tree National Park, California.
- Yellowstone National Park, Wyoming.
- Bryce Canyon National Park, Utah.
- Great Basin National Park, Nevada.
- Grand Canyon National Park, Arizona.
- Theodore Roosevelt National Park, North Dakota.
- Acadia National Park, Maine.
In South America
- Atacama Desert, Chile.
- Uyuni Salt Flats, Bolivia.
- Galapagos Islands, Ecuador.
- The Caribbean Sea.
- La Fortuna, Costa Rica.
- Patagonia, Argentina.
- Lake Titicaca, Peru.
In Asia
- Ranu Kumbolo Lake, Indonesia.
- Mount Pulag, Philippines.
- Doi Chiang Dao, Thailand.
- Ngapali Beach, Myanmar.
- Ladakh, India.
- Gorkhi-Terelj National Park, Mongolia.
- Phnom Kulen, Cambodia.
In Africa…just about anywhere a few miles from a city!!!
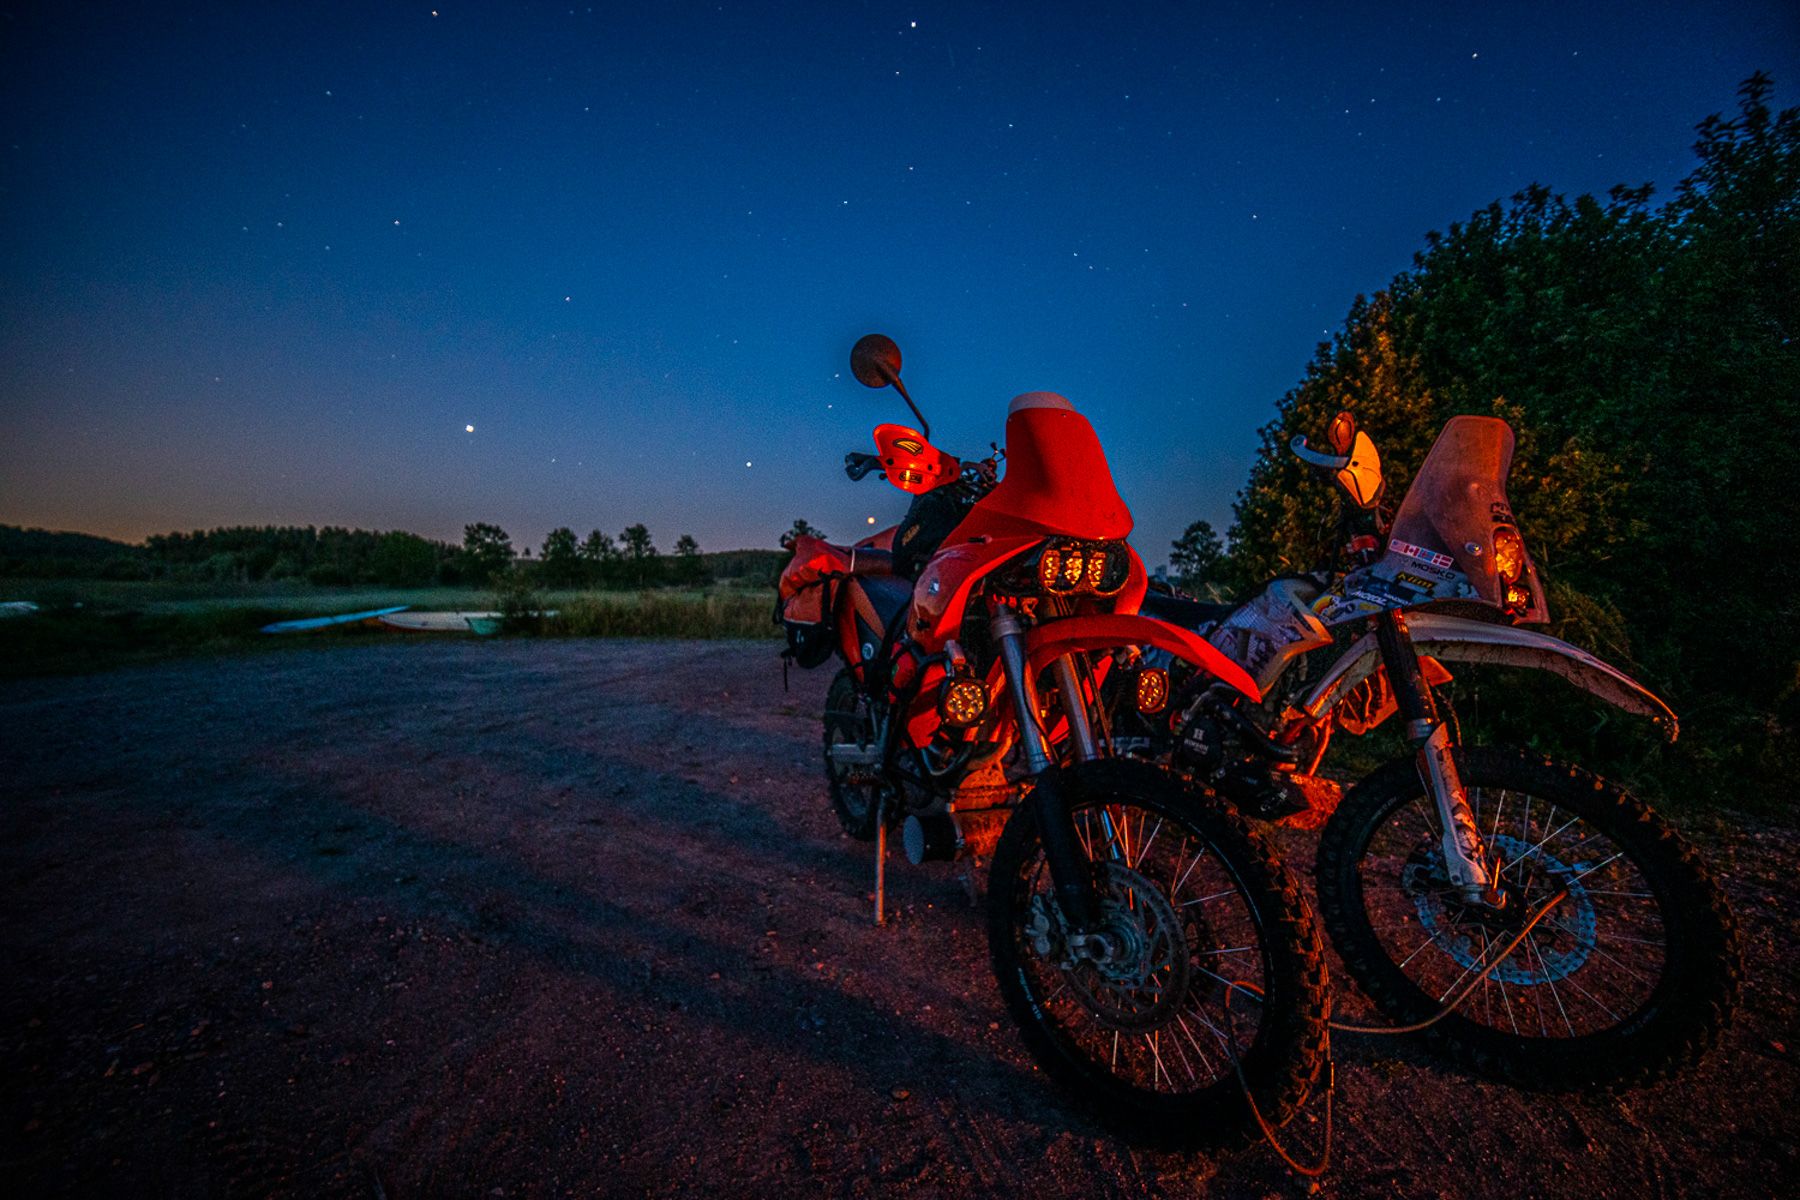
If you are a camera user, get away from that ‘auto mode’ and jump into some manual settings and play around, there is no right or wrong for images to look when the light isn’t great. If you plan on jumping in Astrophotography with or without your bike in the shot, here are a few settings that should get you pretty close to perfect to see the sky in a whole new way.
- Use manual or bulb mode.
- Use a “fast” aperture of F/2.8 – F/4.
- Use a wide lens to get in ‘more sky’
- Set your white balance setting to daylight or auto.
- Set your exposure length to 15-30-seconds.
- Shoot in RAW image format.
- Use Manual Focus.
- Use an ISO of 400-1600 (or more)
- Use the 10-second delay drive mode.
A little more about number 7…use a bright light to pinpoint something (maybe your bike) so the lens is on infinity or close to it and the subject is in perfect focus. It is good to do this earlier than when you want to take your final shot.
If you arrive in the daylight this is a lot easier to achieve, but once done don’t touch the lens.
There is an obvious difference between manual lenses and autofocus lens. Manual lenses are so much easier to ‘set and forget’. Auto focus lens are much easier to get a good focus with good light but not in the dark. Once achieved turn the lens to manual in your settings or on the lens directly so it can’t change, otherwise when you try and take the shot in the darkness it will try to refocus and most like not be able to.
All the apps mentioned above are what I have on my phone, I’m not sponsored by them in any way, they are just ones I find the best to make my life a little easier in the darkness and get the shot I had planned in my head.
Photography: RTWPaul
#FORYOURRIDINGPLEASUREONLY